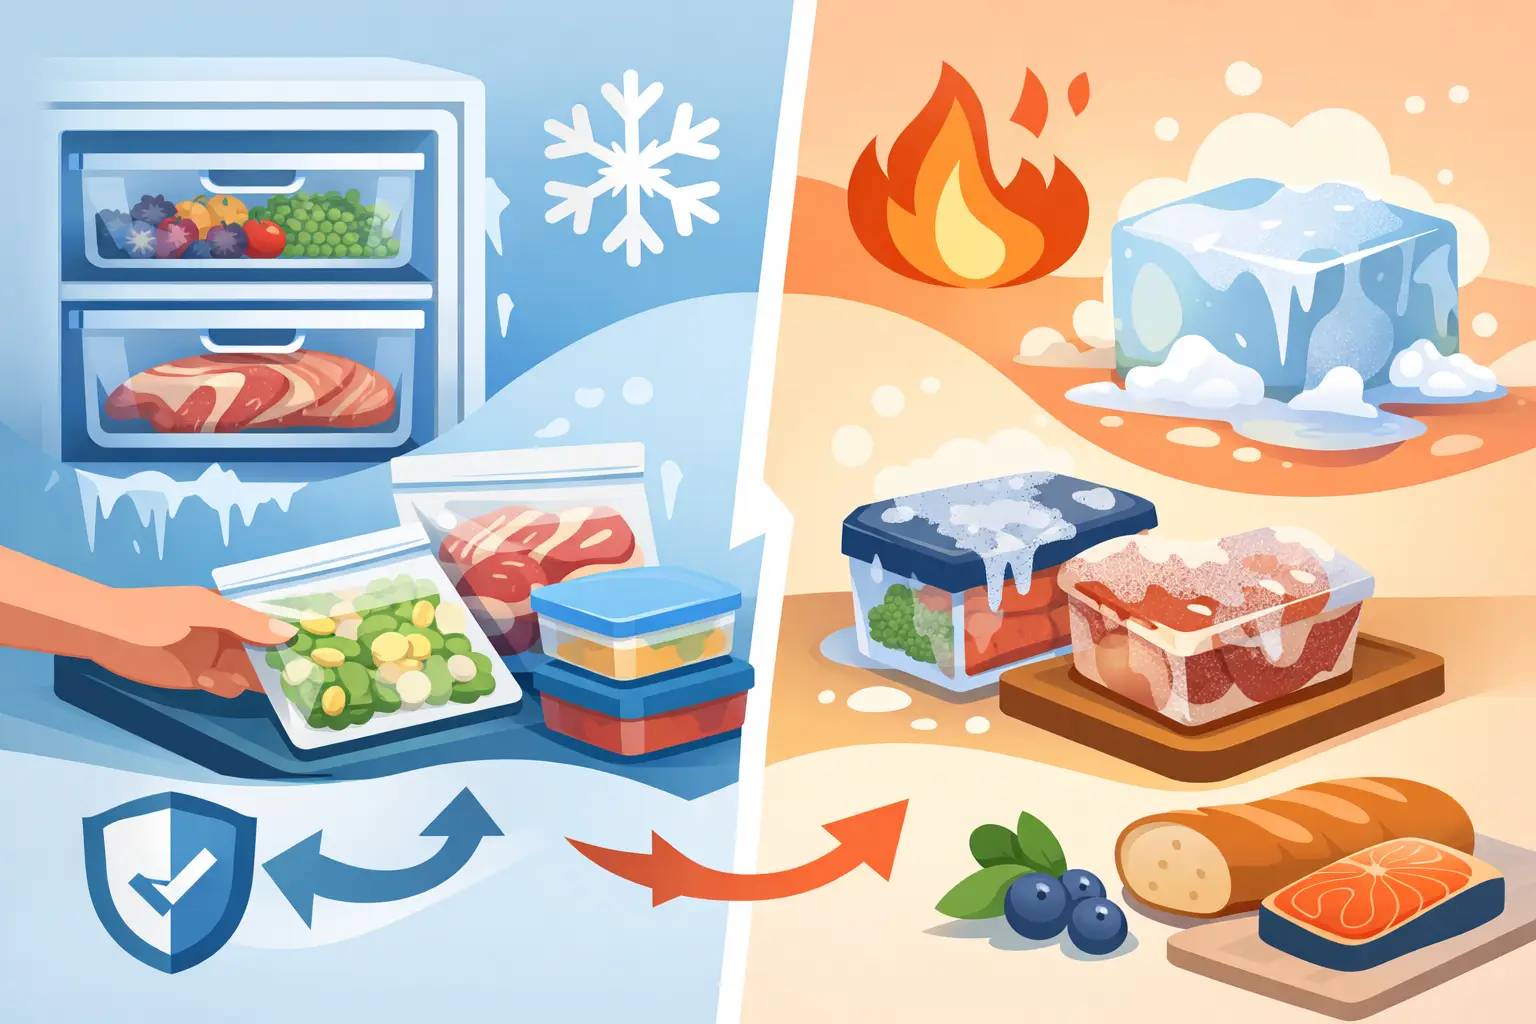
That chicken breast you meant to use last month can still be dinner, not a disappointing, dry mystery from the back of the freezer. Learning how to prevent freezer burn is one of the simplest ways to protect your grocery budget, make meal planning easier, and waste less food.
Freezer burn does not mean food has suddenly become unsafe. It means the food has lost moisture and been exposed to air, which changes its texture, flavor, and color. The good news: a few small storage habits make a noticeable difference.
What freezer burn actually is
Freezer burn happens when water inside food moves to the surface, freezes into ice crystals, and then escapes into the dry air of the freezer. This process is called sublimation. At the same time, oxygen can reach the food and cause fats to oxidize, creating stale or off flavors.
You will usually spot freezer burn as grayish-brown patches on meat, pale dry areas on vegetables, or a thick layer of frost inside a package. Ice cream may develop a gritty, icy surface. Food stored this way is often still safe if it stayed frozen at 0°F or below, but its quality can take a hit.
The goal is not to make food last forever. It is to limit air exposure, hold onto moisture, and use frozen ingredients while they still taste like the food you bought.
How to prevent freezer burn before food goes in
The best defense starts with packaging. The original grocery-store wrap around meat, a loosely folded bag of vegetables, or a takeout container with a cracked lid is usually not enough for long-term freezing. These materials are designed for transport and short storage, not months in a cold, dry freezer.
Choose packaging that creates a close barrier around the food. Freezer-safe zip-top bags work well for chopped vegetables, fruit, cooked grains, and individual portions of leftovers. Heavy-duty foil or freezer paper can work for meats and baked goods. Airtight freezer containers are useful for soups, sauces, and casseroles, especially when you want to avoid spills.
The key is removing as much air as possible. With a zip-top bag, press the bag flat while sealing it, leaving only a small opening until the air has been pushed out. A straw can help pull out extra air from dry foods, but skip this method for raw meat or anything that could contaminate the straw. A vacuum sealer removes even more air and is a good investment if you freeze food often, though it is not required for better results.
For foods with irregular shapes, such as chicken pieces or hamburger patties, wrap them tightly first and then place them in a freezer bag. This extra layer is especially helpful if you expect them to sit for more than a month.
Cool food before packing it away
Hot leftovers release steam. If you seal and freeze them while still very hot, that moisture can turn into ice crystals inside the container. Let cooked food cool briefly, then refrigerate it in shallow containers until it is no longer steaming before freezing.
Do not leave food at room temperature for hours in the name of cooling it down. Perishable food should generally be refrigerated within two hours, or within one hour if the room is hotter than 90°F. Divide a large pot of soup, chili, or sauce into smaller containers so it cools faster and freezes more efficiently.
Leave room for liquids to expand
Soups, beans, broth, and sauces expand as they freeze. Fill containers nearly full but leave about half an inch to an inch of space at the top, depending on the container size. This prevents cracked containers and broken seals, both of which invite air in.
For freezer bags, lay liquids flat on a tray until frozen. You will save space, speed up freezing, and end up with stackable portions that thaw quickly.
Portion food for the way you cook
A large package can seem efficient until you have to thaw all of it for one meal. Repeated thawing and refreezing can damage texture and create more opportunities for air exposure. Better portions make it easier to use what you have without overcommitting.
Freeze food in the amount you realistically use: two chicken breasts for a couple, a pound of ground meat for taco night, or two-cup bags of tomato sauce for pasta. Separate burger patties, fish fillets, pancakes, and cookie dough with parchment paper so you can take out only what you need.
This is also where freezing supports less food waste. If half a bunch of herbs, a few ripe bananas, or leftover rice will not fit into your plan this week, freeze them in usable portions while they are still in good shape. Small choices now create easy ingredients later.
Freeze quickly and keep the temperature steady
Slow freezing forms larger ice crystals, which can damage the food's cell structure. You do not need special equipment to avoid this. Put newly packed food in a single layer with some space around it, ideally near the back or sides of the freezer where temperatures stay coldest. Once solid, stack it neatly.
Avoid adding a large amount of warm food all at once. It can raise the freezer temperature and partially thaw nearby items. If you are batch cooking, freeze in rounds.
Your freezer should stay at 0°F or below. An inexpensive appliance thermometer is useful because the built-in dial on many freezers is not precise. Try not to keep the door open while deciding what to cook. Every warm-air visit creates more frost and puts food through small temperature swings.
A reasonably full freezer holds its temperature better than an empty one, but it should not be packed so tightly that air cannot circulate. If you have extra space, store a few containers of frozen water. They help stabilize the temperature and double as cold packs when needed.
Label every package, even when you are sure you will remember
A flat bag of pasta sauce and a flat bag of chili can look remarkably alike after six weeks. Labeling is not just about organization. It helps you use food while quality is at its best, before it gets buried under newer groceries.
Write the food name, portion size, and date on every package. Add a quick note if it needs something later, such as “add cream” or “for smoothies.” Rotate newer items behind older ones so the oldest food is easiest to reach.
For best quality, aim to use most homemade frozen meals, cooked meat, and raw poultry within two to six months. Fruits and vegetables often keep good quality for eight to 12 months when packaged well. These are quality windows, not hard safety deadlines. A food's condition, packaging, and temperature history all matter.
Foods that need a little extra care
Some ingredients are more prone to freezer burn because of their water or fat content. Fatty fish, bacon, sausage, nuts, and butter can develop off flavors faster when exposed to oxygen. Wrap them tightly and plan to use them sooner than lean meats or plain vegetables.
Fruit freezes best when it is ripe but not overripe. Spread berries, sliced bananas, or chopped peaches on a lined sheet pan until firm, then transfer them to an air-pressed freezer bag. This keeps them from freezing into one solid block and reduces the need to reopen the bag repeatedly.
Vegetables generally benefit from blanching before freezing. A quick dip in boiling water, followed by an ice bath and thorough drying, slows the enzymes that cause flavor and color loss. It will not replace good packaging, but it can make frozen vegetables far more useful months later.
Ice cream is a special case. Press a piece of plastic wrap directly onto the surface before replacing the lid. This reduces the icy layer that forms after the container has been opened a few times.
If freezer burn has already happened
Do not automatically throw the food away. For a small affected area on meat, trim off the dry portion before cooking. Freezer-burned vegetables can still work well in soup, sauce, smoothies, or a stir-fry where texture is less noticeable. Dry bread can become croutons or breadcrumbs.
Use your senses and your storage history. If food was continuously frozen, freezer burn is mainly a quality issue. If it thawed for a long period, smells unpleasant after thawing, or shows signs of spoilage, discard it. When in doubt, do not taste questionable food to test it.
A simple freezer routine pays off: package food tightly, freeze it in meal-ready portions, label it, and check what is already there before shopping. Your freezer becomes less of a holding zone and more of a practical backup plan for busy nights. Cook smarter, waste less, and let those saved ingredients make dinner easier when you need them most.